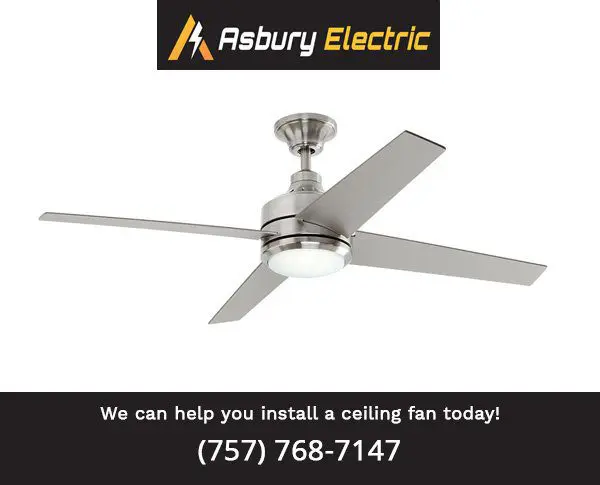
Here is a guide to install a ceiling fan in your home. If you are hesitant, especially about safety, please contact Asbury Electric immediately and we will ensure it is done properly. You can install a ceiling fan as a DIY project, but we do urge caution.
Ceiling fans can improve the airflow throughout your home. If you don’t have one in key areas of your home, it isn’t that difficult to install them on your own. Before you begin to install a ceiling fan it’s important to create a checklist that includes the supplies you will need and some safety precautions.
How to Choose a Fan
Before you install a ceiling fan, the first questions you will need to answer are where it be going, and what type of environment will it be in? If you are installing a fan in a damp area, such as a bathroom, on a porch, or in the kitchen, it will need to be rated for dampness. Other indoor areas don’t need to withstand dampness. Determine the size of the room you’ll be installing the fan in by measuring its length and width and then multiplying them together to find the area.
| Room Area | Fan Size/Room Type |
| Up to 75 ft | Fan: 29-36†diameter Best for bathrooms, hallways, laundry rooms |
| 76-144 ft | Fan: 36-42†diameterBest for small bedrooms, small kitchens |
| 144-225 ft | Fan: 44†diameterBest for kitchens and living rooms |
| 225-400 ft | Fan: 50-54†diameter (or install 2 smaller fans)Best for bedrooms, family rooms, large areas |
How to Choose a Location
The right location will ensure safety and allow your fan to work with maximum efficiency. In order for the fan to have the best flow (and clear any tall people that may be in the house) it needs to hang at least 8 feet above the floor, with an 8â€-10†clearance between the blades and the ceiling. For air to move efficiently, be sure that there are at least 18†between the fan blades and the wall.
After determining which type of fan you need and where it will go, go through the supply list and get what you need. Go through the safety checklist in depth before you begin.
Supplies Checklist
- Adjustable/Crescent Wrench
- Pliers
- Screwdrivers
- Wire Cutters
- Electricians/Insulating Tape
- Cordless Drill with long drill bits
- Drill Battery (fully charged)
- Step Ladder
- Dust Mask
- Safety Goggles
- Safety Buddy/Spotter
- Fan
- Junction box (if needed)
Safety Checklist
- Turn off power to the area through the circuit breaker box.
- Check the installation site – are there obstructions such as poles or lights? Are there any cracks or damage to the area?
- Choose a UL-listed outlet/junction box marked “Acceptable for Fan Supportâ€.
- Make sure that electrical connections comply with local codes and ordinances.
- Carefully read fan manufacturers instructions.
How to Install a Ceiling Fan
To begin your ceiling fan installation, double check that the power has been turned off through the circuit box. If you are replacing an existing light fixture with a ceiling fan, make sure that the circular junction box is marked “Acceptable for Fan Supportâ€. You will be able to tell if it can support a fan because it will have a T brace that locks within the joists of the ceiling or the junction box will mount directly to the joists in the ceiling. To install the junction box, follow the directions that come with it. If you are struggling, try watching videos online to clarify the process.
Mounting the Ceiling Fan
After the junction box has been securely installed, it’s time to start with the ceiling fan. Find the ceiling fan mount and mount it directly to the junction box. The next step will be to assemble the motor. Using a big, flat surface to layout all the materials will help. Reference the instructions that come with your fan on motor assembly. Once the fan motor is assembled, it is time to attach the motor to the mounting bracket on the ceiling.The top of the motor should slide into the groove of the mount. Then twist the motor to lock it in place. Before securing the bowl-shaped canopy to hide the wires, use the wire pack that comes with your fan to attach the wires. Follow the installation manual that comes with the fan.
Once the wire pack has been installed, slide the canopy cover up to hide the ceiling fan wiring and secure it in place with screws.
Assemble the Fan Blades
Now it is time to assemble the fan blades. Attach the blades to the arms and then mount them to the motor housing. After all the blades have been attached, go back and tighten all the screws once more. Once the blade assembly is complete, test it out and make sure everything is operating correctly. It is also important to make sure that your fan is turning the correct way. In the summer fans should rotate counterclockwise to create a cool downward flow of air. In the winter they should rotate clockwise or reverse to push down the warm air that rises to the top.The rotation can be changed by flipping the small switch found on the motor housing of the fan.
It is important to follow the instruction manual when completing the installation. Other great resources can be found online. A great video to refer to is located at https://www.delmarfans.com/educate/basics/how-to-install-a-ceiling-fan/
You can also get in touch with a residential electrician if you think a installing a ceiling fan might be above your DIY skill set.

